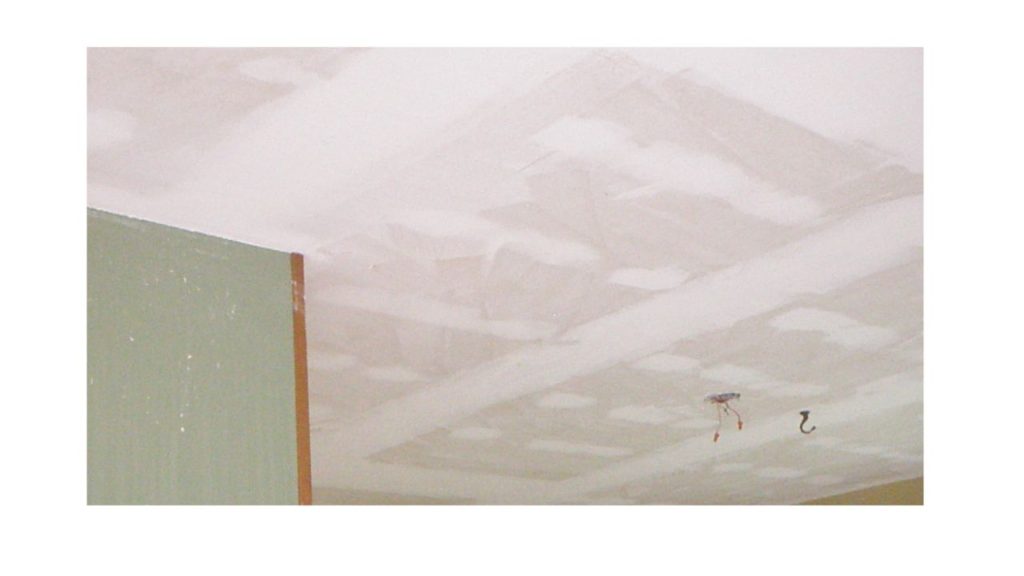
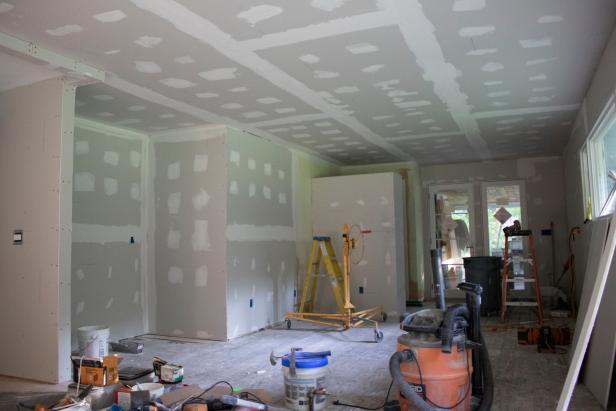
ceiling crack prep & painting
Are you looking for advice on removing a popcorn or textured ceiling? I can walk you through the process, including the tools you’ll need, safety precautions, and tips for a smooth finish. Let me know if you’re dealing with asbestos concerns or need recommendations for refinishing the ceiling afterward!
After removing a popcorn ceiling, prepping the surface for a smooth finish involves several key steps:
1. Scrape and Sand
- Use a drywall sander or sanding pole with 120-150 grit sandpaper to smooth out rough patches.
- If any stubborn texture remains, lightly sand it down.
2. Repair Imperfections
- Fill any gouges, dents, or seams with joint compound using a drywall knife.
- For deeper imperfections, apply in layers, letting each layer dry before adding another.
- Sand the patched areas smooth after they dry.
3. Clean the Ceiling
- Wipe down the ceiling with a damp sponge or microfiber cloth to remove dust.
- A vacuum with a brush attachment can help remove fine particles.
4. Apply Primer
- Use a high-quality drywall primer to seal the surface and prevent uneven paint absorption.
- A roller with a thick nap works best for good coverage.
- Let the primer dry completely.
5. Final Touch-ups
- Check for any remaining imperfections and spot-sand if needed.
- Apply a second layer of primer if the surface still looks uneven.
6. Paint or Re-texture
- If you’re going for a smooth look, apply two coats of ceiling paint with a roller.
- If retexturing, use a spray-on or hand-applied texture before painting. TESTIMONIALS
Let me know if you need specific product recommendations or techniques!
manny z painting


